Build a Self-Hosted Server: Pi, CasaOS & Cloudflare Tunnels Done Right
Think you gotta have a whole data center or a pile of cash for a really kick-ass home server? No way. Think again. Because what if I told you that little Raspberry Pi just sitting there in your drawer, or that dusty old laptop tucked away, could actually become a powerful Self-Hosted Server? We’re talking running your own website, yes, blocking all those incredibly annoying ads everywhere on your network, syncing your files just like Google Drive, or even streaming media to all your buddies. And yeah, all that on hardware you likely already own. Crazy, right?
This isn’t some super complex IT project for smartypants Silicon Valley folks. This is about grabbing back control of your own data, seriously boosting your privacy, and just getting some super useful apps running right there from your living room. Easy.
Dig Out Your Old Tech: Raspberry Pi or Just an Old Computer
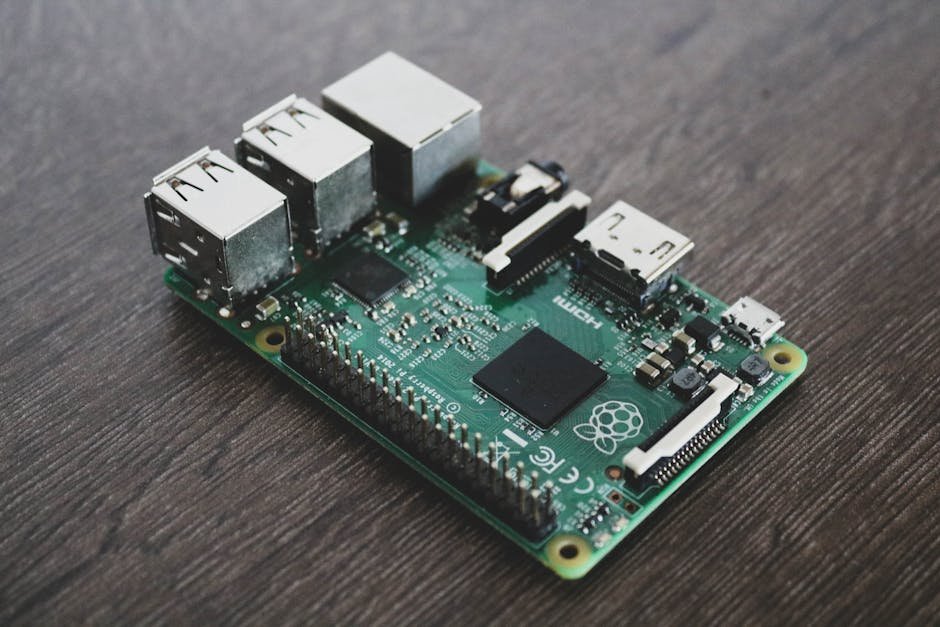
Here’s the deal: you really don’t need the newest, most shiny stuff. If you’ve got a Raspberry Pi (especially one with 2GB RAM or more), you’re set. No Pi? No sweat. Any old laptop or desktop PC with similar specs will totally do the job. Seriously. The main idea is kinda the same, no matter what hardware you’re using. First big step? Get a Linux operating system, like Debian 12, loaded onto it. Usually, it’s a super painless process, often just a few clicks with the right tools. Piece of cake.
Using CasaOS for Easy Server Management
Once Linux is up and running smoothly, CasaOS time. This isn’t just another tech tool; it’s a total game-changer. CasaOS gives you a really nice, web-based screen that makes handling your server and putting apps on it a total breeze. Seriously simple. Think of it like a quick app store for your server.
It uses Docker, which might sound super technical, but CasaOS handles all the hard stuff. You can click-to-install tons of pre-built apps, or just easily add your own custom Docker apps right through its visual screen. It’s a nice easy spot to get all your services running without fighting with command lines all day long. And it’s great.
Spin Up Your Favorite Self-Hosted Apps Fast
Now, for the fun bit: what can this server actually do? A lot, really.
- AdGuard Home: Say goodbye to those irritating, network-wide ads. Just install it. Set your devices to use your server as their DNS. Then enjoy a cleaner internet! No more interruptions.
- Nextcloud: This is your own private Google Drive and Workspace swap-out. Sync files across all your gadgets. Share documents with just specific folks. You keep your data out of the giant cloud company’s mitts. It’s your own cloud, with tools for calendars, contacts, and even notes.
- Ghost: Want to start a blog? Or run a personal website? Ghost is a fantastic blogging platform, open-source too. With your Self-Hosted Server, you get complete control over your content and how it looks. Total creative freedom.
And another thing: CasaOS also opens the door to media servers like Jellyfin, torrent clients, and a whole lot more. It’s pretty incredible what you can get going with just a few clicks. Really.
Make Remote Access Easy with Cloudflare Tunnels
“Okay, cool,” you’re probably thinking, “but how do I even get to my stuff when I’m not home?” Traditionally, that meant buying a static IP and, then, opening ports on your router. And that? That’s a full-on security nightmare for most home users, exposing your whole network to all sorts of bad people. So, Cloudflare Tunnels totally kicks that old, insecure way out the window. Thank goodness.
With Cloudflare Tunnels, you don’t expose a single port on your router. Instead, a tiny bit of software on your server just makes an outbound-only connection to Cloudflare’s network. This builds a secure path. It lets you show only the specific stuff you want to the public internet, all without messing with your local network’s safety. And it gives you DDoS protection, plus global reach for your services. Smart.
Super Important Tip: You’ll need a domain name; make sure it’s hooked up to Cloudflare. When setting up the tunnel, an easy Docker command usually gets the cloudflared agent running. Then, link subdomains (like adguard.yourdomain.com or nextcloud.yourdomain.com) to the internal IP address and port where your specific services live. Simple.
Get Good Security Locked Down
Even with Cloudflare Tunnels doing a lot of the heavy lifting, keeping things safe absolutely starts at home.
Always, always use strong, different passwords for everything. Not rocket science. Just basic digital cleanliness.
For an extra layer of protection, especially for those sensitive admin screens (like your Ghost blog’s dashboard or CasaOS itself), use Cloudflare Access. This lets you make identity verification a must before anyone even gets to your application’s login page. For instance, you can set it up to send a one-time code to your email, or link it with Google, GitHub, or Facebook for logging in. This really bumps up your security. It guards against any weak spots in your self-hosted apps. Big win.
Remember, also, to give your server device a fixed IP address on your local network through your router’s settings. This ensures your server always has the very same internal IP, so Cloudflare Tunnels and other things can always find it. Nothing ruins the day like your server’s IP suddenly changing, breaking all the ways you get to it from outside. So frustrating.
What About Privacy and Cloudflare Tunnels?
Cloudflare Tunnels are seriously convenient. And secure from a network point of view. But it’s really important to get the privacy trade-offs. Cloudflare handles all your HTTPS traffic. So this means, technically, Cloudflare sees your encrypted data—usernames, passwords, file content—as it goes through their computers. They decrypt it. Then they re-encrypt it. Then they send it to your local server.
For most folks at home, this might not be a deal-breaker if you trust Cloudflare with your data and like how easy it is, plus the DDoS protection. But if you’re running a business or have specific legal requirements (like GDPR in Europe), this centralized way of handling your data could be a problem. You’d need to look at other options, like getting a static IP and handling port forwarding yourself (which, as we said, brings its own set of hassles and security worries). It’s a balancing act. Only you can decide what you’re okay with.
Quick Q&A About Servers
Can I just use some old computer, or does it have to be a Raspberry Pi?
Nope! Any old laptop or desktop computer will totally work. Just needs at least 2GB of RAM and to run a Linux operating system. Easy.
Why are Cloudflare Tunnels better than opening ports on my router?
Opening ports directly just exposes your local network to the whole internet, causing huge security risks. And nobody wants that. Self-Hosted Server protection matters. Cloudflare Tunnels makes an outbound-only connection from your server to Cloudflare. So, no inbound ports need to be open on your router! This makes your network way safer and helps against DDoS attacks. Seriously.
So, what about privacy when I use Cloudflare Tunnels?
Cloudflare acts like a middleman, handling all the HTTPS traffic. This means they, essentially, have access to your data (like login info or what’s in your files) as it moves through their network. While this is super handy and keeps you safe, it’s a trade-off for data privacy. Something individuals, and especially businesses, just need to think about. Hard.