California Tech: Arduino LCDs & AI Stuff
Ever wonder what makes real California Tech Innovation go? Even for DIY. It’s not just giant Silicon Valley spots. Nope. It’s literally everyone making stuff. Locals get it: from busy city streets to quiet hacker labs, this state loves tech. A whole vibe, for sure. We’re talking from basic, cool displays on an Arduino to using AI for quick builds. Wanna get deep into embedded systems and how new tools smooth things out? You’re here. Perfect.
California’s Tech Reach: DIY with Arduino, Big Innovation
Garage startups. Big companies. California’s always pushed new ideas. That vibe reaches DIY platforms like Arduino directly, putting serious tech into anyone’s hands. Fancy art? Smart homes? All possible now. Setting up a 16×2 LCD screen, for example. A basic build. It’s a super cool way to show live data, showing how this maker movement, a really big part of the California flow, just explodes. And another thing: AI can even write the code for it now!
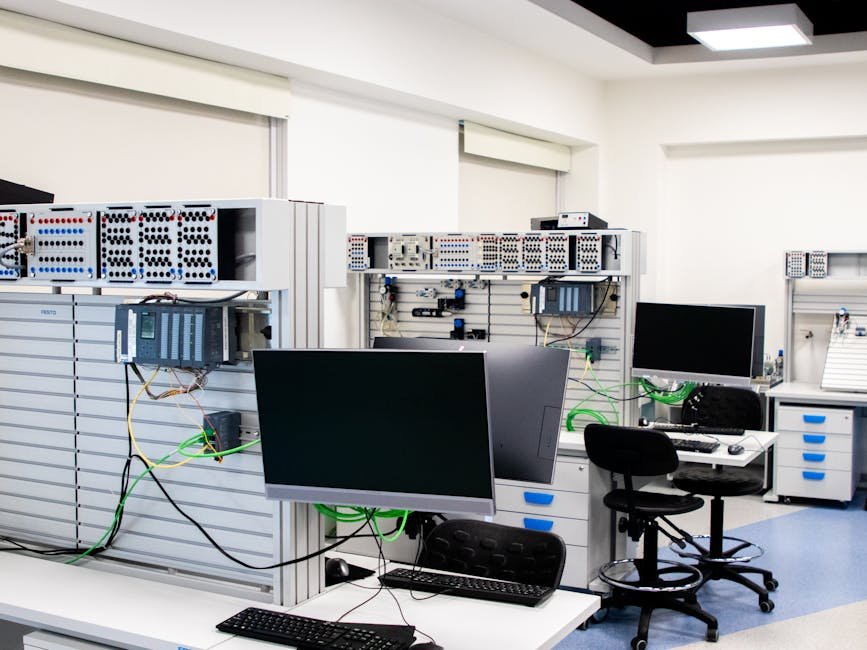
Wiring Up Screens: LCDs & Microcontrollers 101
So, wiring an LCD? Not super hard, but you gotta be precise. A standard 16×2 LCD – that’s 16 characters per line, two lines, duh – talks to your Arduino using a bunch of pins. Grab a breadboard (good for all your ground hookups) and some jumper wires for linking things. Simple.
First up, VSS goes to GND. VDD goes to 5V. Easy. The V0 pin? Super critical for screen contrast. Mess that up or skip it, and you’ll see zero, or just solid black squares. A pot is best for fine-tuning it. But sometimes, just a resistor from V0 to GND works okay in a pinch.
And then comes the data and control wires: RS typically hits Arduino Pin 12. RW connects to GND. E goes to Arduino Pin 11. Your data pins, D4 through D7, usually connect to Arduino Pins 5, 4, 3, and 2. Lastly, juice up the backlight: Anode (A) to 3.3V (or 5V with a resistor), Cathode (K) to GND. Seriously, always double-check your pinout drawings; trust me, they change!
AI’s Role: Coding Faster, Better
Those days of writing every single line? Gone. Thank goodness. Smarter ways now exist. For this project, we just used AI tools like DeepSike and ChatGPT to make the Arduino code. Tell it your gear (16×2 LCD, Arduino Uno) and what you want (scrolling “enthalpy” text). Bam. Watch the AI build it. What’s crazy? These different AIs spit out super similar, working code. It’s not just handiness, though. It’s a look at fast, AI-helped building, which is KEY to efficiency in California’s crazy-fast tech scene.
Real-World Screens: Showing Live Data
Museum displays, smart parking signs – you see ’em all over California. Our little LCD projects? Distant relatives. This Arduino, set to scroll “enthalpy,” just shows the main deal: take raw data, turn it into moving, visible stuff. The outcome? A flawless scrolling text display. First try, no hiccups. Props to decent planning and AI help. This basic visual feedback? It’s crucial for tons of modern tech things, from big industrial panels to your everyday gadgets.
Libraries: Your Code’s Best Friend
No need to build everything from scratch. Seriously. Libraries are for that. For an LCD screen specifically, the LiquidCrystal library? Your absolute go-to. It hides all the super fiddly bits of telling the screen what’s up, so you only worry about what to show, not how. Most Arduino IDEs come with this by default. But if it’s gone? No big deal. The Arduino IDE has a Library Manager built right in; find and install it with one click. Because if your code starts #include <filename.h>, guess what? You’re using a library. And yeah, it needs to be installed, or your code will bomb.
Simulation: Test Before You Build
Before you actually build anything, especially something complicated? Simulation. Total game changer. It’s a standard thing in California’s big tech places. Engineers use it to check circuit behavior, make sure connections are good, hunt bugs in code – all without using up parts or breaking stuff. Our LCD project got simulated. It confirmed all the pinouts and code logic way before we touched a single wire. This smart move saves time. Stops waste. And makes you way more confident when you finally put the real thing together.
From Idea to Hardware: The Whole Process
Making an embedded system actually work? It’s a specific journey. First, an idea. Then pick your parts (Arduino, LCD). After that, sketch out your hardware connections. The coding part, often with AI help these days, decides how the system acts. And integrating software libraries? Makes programming way easier. Super important: simulate it early for a sanity check. Then you wire stuff up. Upload the code. Test it out in the real world. This step-by-step thing, from big idea to actual working gadget, is how tons of devices, huge or tiny, show up in our digital world.
FAQs – Quick Answers
Q: So, “16×2” LCD? What’s that even mean?
A: Oh, it just means 16 characters across and two lines of text. Simple stuff.
Q: Why is that V0 pin on an LCD such a big deal?
A: Okay, the V0 pin handles the text contrast. Duh. If you don’t tweak it right (usually with a pot or a specific resistor), you’ll see nothing. Or just solid black squares. Annoying.
Q: Why bother with libraries like LiquidCrystal.h in Arduino stuff? What’s the point?
A: Because libraries just make everything easier. They’ve got pre-written functions that let you talk to hardware like LCDs using simple commands. Way better than typing out every single super detailed low-level code line. Saves a ton of headache.